|
|
Pressure Cooker Use
( updated: April 19, 2021, at 01:58 AM )
dead link reports, comments and suggestions welcome any time
|
|
Pressure cookers and canner are important tools in mycological work. When used properly they guarantee the preparation of thoroughly sterilized mushroom growing substrates and tools.
In a pressure cooker the water reaches a higher temperature before boiling, and this higher temperature kills unwanted organisms more effectively and faster than normal cooking.
This document should give some answers on the correct use of pressure cookers.
Presto 23-Quart Pressure Cooker/Canner
Pressure cookers on Ebay:
Pressure cooker types
Pressure cooking step by step
Pressure cooker types
There are different ways of how a pressure cooker indicates and controls the operating pressure .
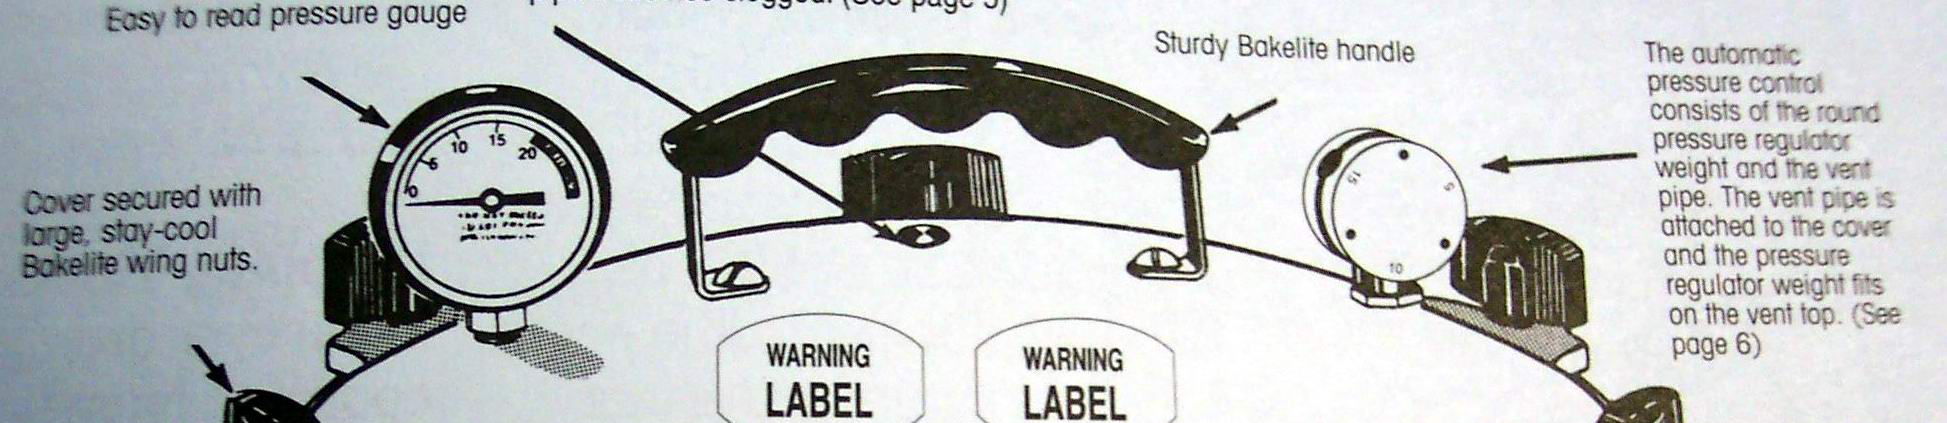
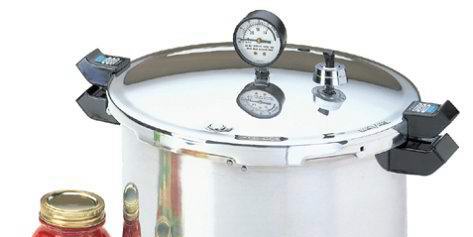
Pressure gauge + pressure regulator weight (All American Pressure Canner)
The pressure regulator weight lets you select one of three pressure settings: 5, 10 and 15 PSI. You should select 15 PSI for mycological work. When the pressure cooker reaches the proper temperature, the pressure regulator weight will jiggle audibly, and you can see the steam being released. Additionally the pressure gauge will show that the pressure has been reached. It is normal that the pressure gauge shows 1-2 PSI less than what you selected on the pressure regulator weight To maintain the proper temperature adjust heat lower to maintain a slow, steady rocking motion.
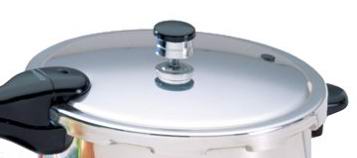
Pressure gauge + rocker (Presto Pressure Canner)
When the pressure cooker reaches the proper temperature, the rocker will jiggle audibly, and you can see the steam being released. Adjust heat lower to maintain a slow, steady rocking motion.
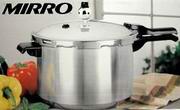
Rocker (Presto, Mirro, Hawkins....)
This is essentially the same as the above, just that they don´t have a pressure gauge. When the pressure cooker reaches the proper temperature, the rocker will jiggle audibly, and you can see the steam being released. Adjust heat lower to maintain a slow, steady rocking motion.
To see if your pressure cooker reaches the desired temperature, you can do a pressure cooker test.
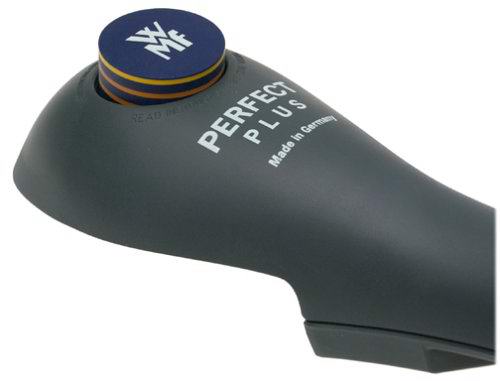
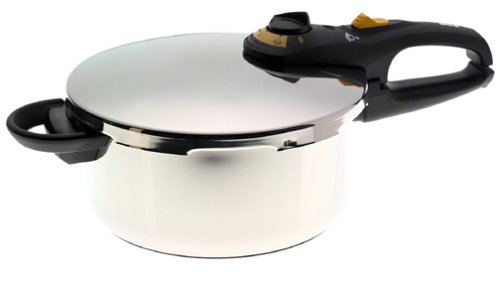
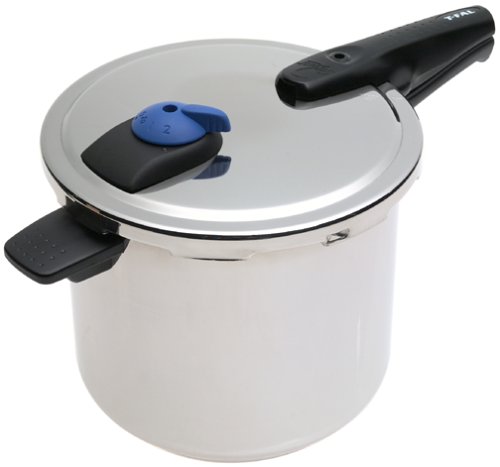
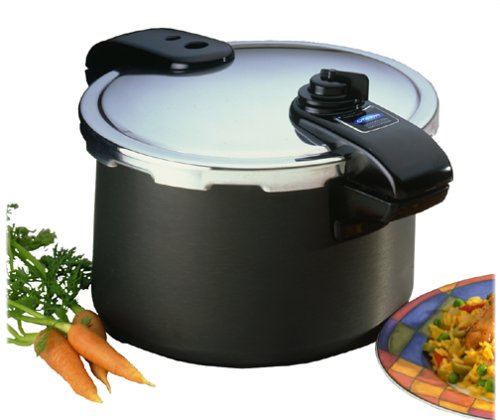
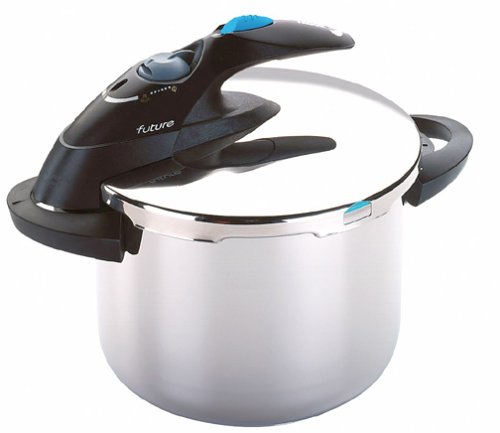
Spring system (T-Fal...)
Many new pressure cookers utilize a spring system.
A pin held by a spring is being forced out of the pressure cooker by the building pressure. The more the pin comes out, the higher the pressure in the PC. After a certain point is reached steam is released with a hissing sound.
The operating point of those types of pressure cookers should be just before the steam is starting to get released, this means once you see the steam being released, you turn the heat down a bit.
In some types you can see the pin coming out:
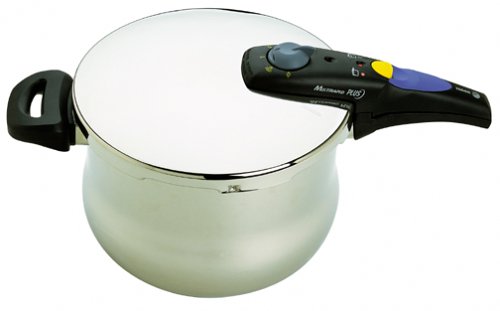
In some types you don't:
In each case, the working point of those types of pressure cookers should be just before the steam is starting to get released.
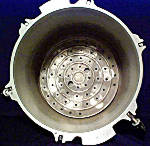
Rack or trivet
Most pressure cookers come with a rack or trivet. Racks are made of aluminum of stainless steel. A rack keeps the jars from direct contact with the bottom of the pressure cooker. Some types of jars tend to crack if they are not on a rack.
More on racks at All About Pressure Cooker Racks and Trivets.
Pressure cooking step by step
- Put 1 inch of cold water in the PC. Some pressure cooker manuals will tell you to use more water. You need to use as much water, that by the end of the pressure cooking there is still some water left at the bottom of the pressure cooker. If you are unsure, you can test drive the pressure cooker without jars first to see the 1 inch of water will fulfill this requirement or not. Never let the pressure cooker run dry! Place filled jars on the rack. Fasten PC lid securely.
- Leave weight off vent port or open petcock. Turn the heat on at a setting from 2/3 to the highest setting until steam flows from the petcock or vent port. You don't want the pressure cooker heat up too fast, since this can cause certain types of jars to break. Adjust the heat so that it takes around 15 minutes for the steam to begin to come out of the vent. The bigger the pressure cooker, and the more filled it is, the higher setting you can use.
- Exhaust steam for 1 minute and then place weight on vent port or close petcock. The PC will pressurize during the next 5 to 15 minutes, depending on the size of the PC.(the bigger the PC, and the more jars are in it, the longer it will take).
- Start timing the process, depending on the pressure cooker type
- when the pressure reading on the dial gauge indicates that the recommended pressure has been reached or
- when the weighted gauge begins to jiggle/rock or
- when the valve comes up to the of second or third (last) ring or
- when the steam is starting to get released from the pressure setting dial.
- Adjust heat lower to maintain a slow, steady rocking motion, or the pressure indicator staying at the proper ring, or there is no steam coming from the pressure setting dial, depending on the pressure cooker type.
- When timed processing is completed, turn off the heat, remove the PC from heat (if electric range), and let the PC de-pressurize at room temperature. (dial needle moves back to "0" or no steam escapes when weight is gently nudged). Do not force-cool the PC under water or force the steam out! The depressurazation can take anywhere from 5-20 minutes, depending on the size of the pressure cooker and the amounts of the jars in it.
- After the PC is depressurized, remove the weight from the vent port or open the petcock.
If you are preparing whole grains(rye, millet, birdseed...), you will now want to wait around 30 minutes and then take the hot jars out and shake them to distribute the wetter and drier kernels.
If you are preparing PF jars it's best to leave them cool down in the pressure cooker over night.
1 vistors are currently browsing this page, 4 total.